The “Multiscoring” feature (available in PRO+ and PRO+Team) allows you to assign points to your questions according to different criteria or themes.
Multi-scoring is particularly useful for personality tests.
This option can be used with single-choice and multiple-choice questions.
1. How to set up your Multiscoring
In the «Edit» module, click on the «Multiscoring» tab

Start by creating a first score by clicking on “Add a score”.

- Name the score and click on “Validate”
- Create columns based on your themes. You can creat up to 30 scores
- Click on “Assign points to these answers” on the right of each question to assign points
- Write the number of points that you want to assign in the boxes : you can enter positive, negative and decimal numbers (per 0.5)
- Validate your modifications by clicking on the blue button «Save».
- Repeat the procedure for each question. Repeat this procedure for each of your questions. If you have created multiple pages, click on the following pages on the left and assign your points as explained previously.
NOTE :
1) You can rename and/or delete a score at any time by clicking on the three dots on the right of each column.
2) You can export the setting of your multiscoring by clicking on “CSV Export” on the top right of the page. That will allow you to check your grading once finished.
2. “Multiscoring” Options on the closing page
Click on “Closing page“ from the “Edit” unit. Then click on «New Item» and select the multiscoring item you want to add, configure it and validate.
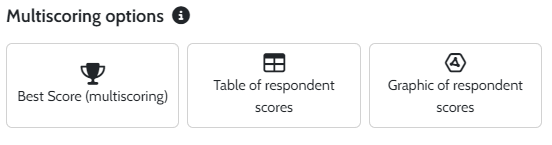
Best score
Display the highest score obtained by your respondents.
- Text to display : enter the message announcing the score (e.g.: Your score is)
- Score display mode : choose whether your score should be displayed in total points, over 10, 20 or in %.
- Customized texts : configure a customized text for each of your Multi-scores. These messages will accompany the score obtained.
Respondent Score Table
Display your respondents’ total scores in a table.
- Number of scores to display : select the score(s) you wish to display in a table (All scores/The best score/The best 2 scores, etc.).
- Column heading Category/Score : you can rename the columns of the table
Responder Scores Radar
Display the total scores of your respondents in a chart.
- Scores to display : Select the score categories you want on the chart.
- Chart type : Choose the desired chart type (radar chart, column chart, or bar chart).
Note : A minimum of 3 score categories is required to generate a radar
Personalised message
Insert a personalized message for your respondents. You can also configure its display according to a multi-score obtained. Simply create your message using this option.
Once created, click on the arrows to the right of your message and condition its display with the Multi-Scores.

For example, you can display a message if the score is higher or lower than one value, or if it is between two values.
Between each condition, the “AND” / “OR” connectors allow you to create more or less complex display rules according to your needs.
Don’t hesitate to test your multiscoring and the options you have activated on the Closing page from the “Preview” mode.
3. Visualizing your respondents’ results
- Vizualise the scores of your respondents in a table or in a graph
You can visualize the scores obtained by each respondent for each of your themes in a table or a graph.
To do this, go to the “Results” unit and click on “Results per respondent”.
- Click on the right of each line on the “View details” button
- A graph, a table and the details of the answers of your respondents will appear in a new window
- You can import the content of the window in a PDF file
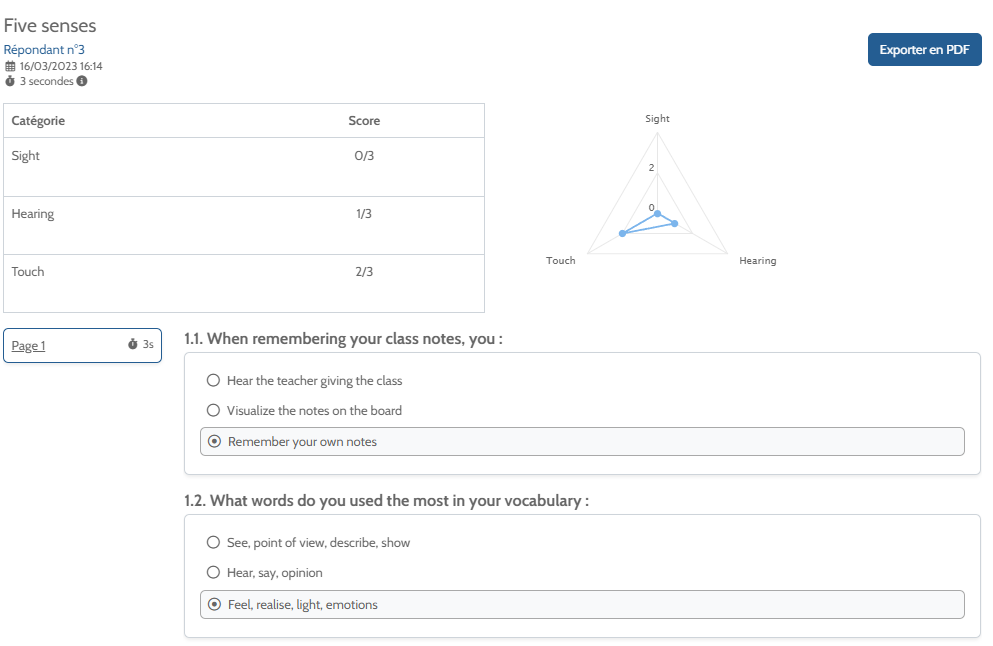
NOTE :
When you only have one or two scores in your multiscoring, the graph will be offered as bars. From three scores, the results will be displayed in the form of a radar (spiderweb).
- Visualize the result page of each respondent
You can get the URL link of the result page of your respondents.
It allows you, for example, to view the profile or the personalised messages that each respondent viewed on their result page.
To do this, click on “Results”, and then on “Results per respondent”
- In the “Results Page” column, click the “Open” button
- You can view the closing page of your respondent
- Copy the link if you want to share it
