Display multiple elements to your respondents on the questionnaire’s end page, such as a summary of their answers, their score, personalized messages, a payment form etc…
To configure your closing page using the new editor, go to the Questionnaire Edit module and click on Closing page.
Setting up your closing page
Adding closing page elements works in the same way as adding questions. Choose the desired elements from the list on the right, select the required options, then confirm your choice. Customise the element and validate again. It will then appear on your page. To include additional elements, simply repeat the process by selecting a new element.
Here are the different elements you can use to personalise your end page:
Personalised message
This option lets you display a message to your respondents. This can be a thank you message or a personalised message based on their answers or score.
The display of your messages can then be conditioned using the arrows icon to the right of each element.
Social network buttons
That option allows your respondents to share your questionnaire on the social networks of your choice.
- Text to display: this is the text that will accompany the social networking buttons. For example, “Share this questionnaire”.
- Select your social networks: select the social networks on which you’d like your respondents to share it.
PDF export button
It gives your respondents the possibility to export the closing page of the questionnaire. You can change the color of the button to match your design.
- Button text: enter the message to be displayed on your button
- Button color: select the desired color
Questionnaire relaunch button
This option allows you to add a button on the end page. This will allow your respondents to generate a new response if necessary.
Payment form
Integrate a Stripe payment form to allow your respondents to pay an amount you define, or a customized amount based on their responses.
Note: this option requires a Stripe account.
Stripe API key: indicate the public key and the secret/restricted key accessible from your Stripe account. Find out how to link your Stripe account
Redirection after payment: choose whether your respondents should remain on the end page or be redirected to another page once payment has been made.
Confirmation message: write a payment confirmation message
You have two options for defining the amount to be paid by your respondents:
Add a default amount: enter the total amount to be paid at the end of the questionnaire
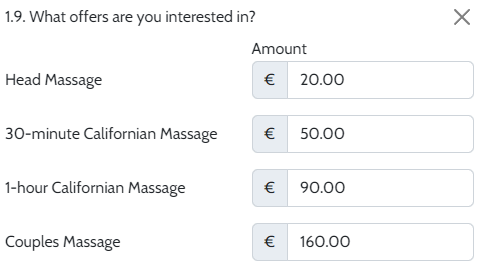
Amount an amount according to the answers: enter the amount for each answer to your question(s).
Note: If your questionnaire is integrated into a web page (iframe), your respondents will have to pay from a new tab. This is due to the security settings of Stripe and Paypal payment methods, which prevent integration into an iframe.
Summary of answers/Corrections
View a summary of the answers entered by your respondents and/or their corrections.
You can select all questions or just some of them.
Corrections can be displayed in the case of a quiz and if Quiz Options are activated.
Respondent score
Display your respondents’ scores in a quiz or knowledge test. To do this, activate the Quiz options in your questions.
- Text to display: enter the message announcing the score (e.g.: Your score is)
- Score display mode: choose whether your score should be displayed in total points, over 10, 20 or in %.
Multiscoring
The display options below are only available if you have configured Multiscoring in your questionnaire.
Best score (multiscoring)
- Text to display: enter the message announcing the score (e.g.: Your score is)
- Score display mode: choose whether your score should be displayed in total points, over 10, 20 or in %.
- Customised texts: configure a customised text for each of your Multi-scores. These messages will accompany your score.
Table of respondent scores
Display your respondents’ total scores in a table.
- Number of scores to display: select the score(s) you wish to display in a table (All scores/The best score/The best 2 scores, etc.).
- Column heading Category/Score: you can rename the columns of the table
Note: a minimum of 3 score categories is required to obtain a radar-type graph.
Responder Score Table
Display the total scores of your respondents in a table.
Number of scores to display: Select the score(s) you want to show in the table (All scores/Best score/Top 2 scores, etc.).
Column Title Category/Score: You can rename the columns of the table.
Responder Score Radar
Display the total scores of your respondents in a chart.
Scores to display: Select the score categories you want on the chart.
Chart type: Choose the desired chart type (radar chart, column chart, or bar chart).
Note: A minimum of 3 score categories is required to obtain a radar-type chart.
Customise Your Chart
You have tools at your disposal to customize your chart, regardless of its type:
Chart colour: Select the color you want to apply to your chart by clicking on the coloured square. Depending on your chart type, the colour will apply to a specific element (column, bar, radar branch).
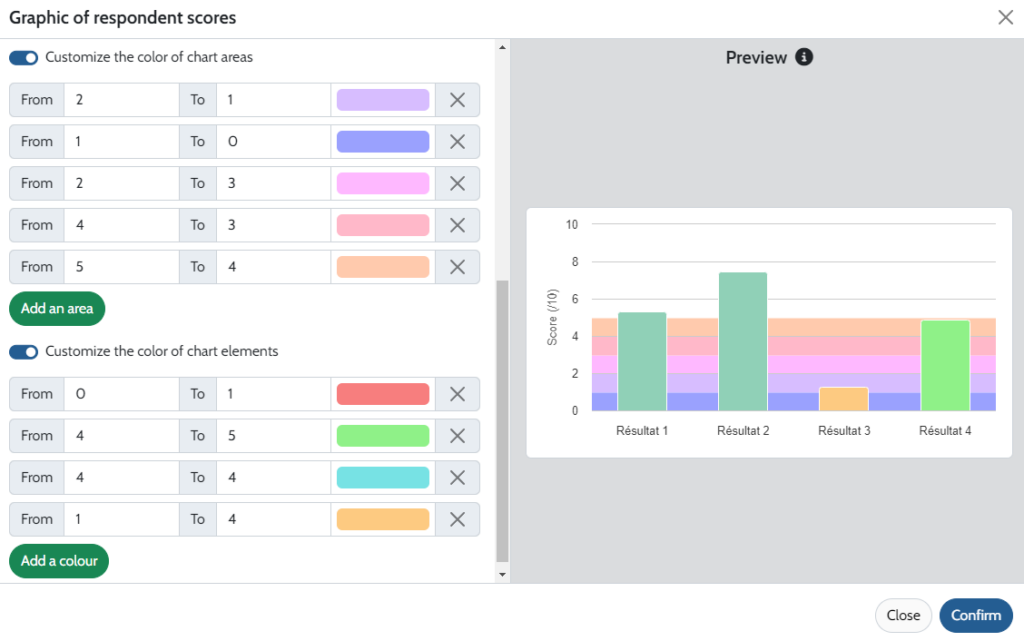
Customise the colour of chart elements: You have the option to apply different colours to your columns/bars/radar branches based on the score obtained from your respondents. Select the score range for which you want to display a specific color (e.g., From 0 to 25) and then choose the colour to apply.
Add colour zones: You can apply colours to different areas of your graph (in the background). To do so, specify which score scale it will be applied to, and which colour.
Condition the display of your end page elements
You can condition the display of your items according to one or more answers selected by your respondents.
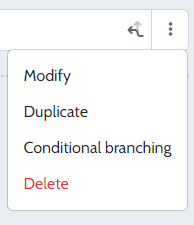
To do so, click on the small arrows on the right of the element you wish to condition, or on the three dots to the right, then on Conditional branching.

Then, configure your display conditions.
Modify/delete/reorganize your end page elements
You can modify or delete an item by clicking on it, or by clicking on the three dots to the right, then on Modify/Delete in the drop-down menu.
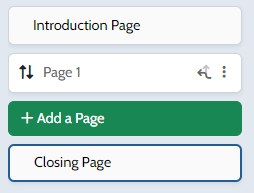
You can also change the display order of your elements by clicking on the two arrows to the left of an element and dragging and dropping it.
Why is an element grayed out?

If an item is grayed out, it means that the associated questionnaire options have not been activated. This may be the case for Score and Multiscoring items.