On our New version, you have the possibility to create all types of quizzes with ease.
Follow these steps to complete your new quiz.
Step 1 : Create and customize your survey
The “Edit” module allows you to add questions, pages and configure your options.
It is possible to create a quiz with score only with single and multiple choice questions.
PAGES AND QUESTIONS
- Create a question
1. Choose the type of question you want to create in the right column
A large range of questions is available for you.
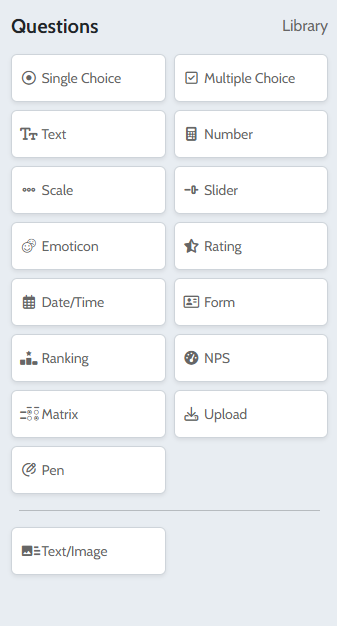
For quizzes, the ideal questions are :
- Single choice : a single answer possible and allows to associate a score
- Multiple choice : several possible answers and allows to associate a score
- Form : allows you to request information about your respondents (email, name, first name, number, text, phone number)
2. Write the wording of your question and the wording of your answer choices.
You can personalise the texts, add images, URL links, etc.

3. Move your choices using the arrows to the left of each choice (drag/drop)
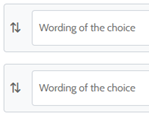
5. The button “New Choice” allows you to add additionals answers

Step 2 : Quiz options
The switch button “Quiz Options” allows you to display specific options for the creation of a quiz.

1. Tick the right answer(s) by clicking on the switch button on the right of your choice(s).

2. Indicate the number of points you want to attribute to the question (in case of right answer(s)).

3. Set up the correction of the question.
You can display the correction of your questions as your participants answer and/or at the end of the survey.
OPTION #1 : Displaying the correction as your participants answer the quiz.
- Activate the option “Display the corrections after submitting the page (✔️or ❌, right/wrong answer)”
That option allows you to display the correction as your participants answer to the questions. The right and wrong answers will be highlighted and your respondents will see the text “Correct answer” or “Incorrect answer”.
Note: If you have several questions on the same page, the corrections will be displayed once the entire page is validated.

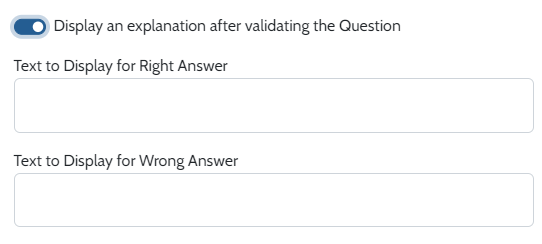
- You can also activate the option “Display an explanation after validating the Question”
It allows you to set and display a personalised message that will appear below the correction (“Right answer” or “Wrong answer”).
This text gives you the opportunity to give precisions or explanations for each question. You can personalise the text by modifying the font and by adding images.
OPTION #2 : Displaying the correction at the end of the quiz only
- Untick the option “Display the corrections after submitting the page (✔️or ❌, right/wrong answer)”
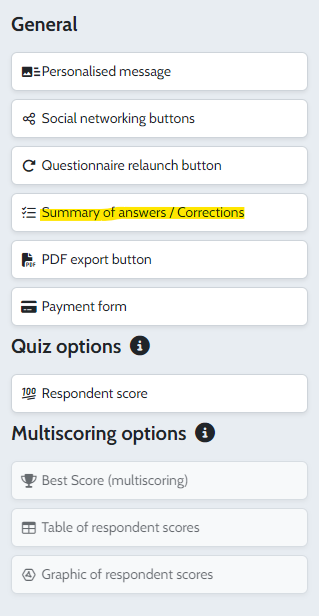
- In the “Closing page”, activate the option “Summary of answers / Corrections”
- If you want custom correction texts to appear on the closing page only, you will need to enable the “Display an explanation after validating the Question” for each question.
- The form question
The form question allows you to collect information concerning your respondant : first name, last name, email, phone number, text, number.
1. Choose the type of information you want to collect using the drop-down menu
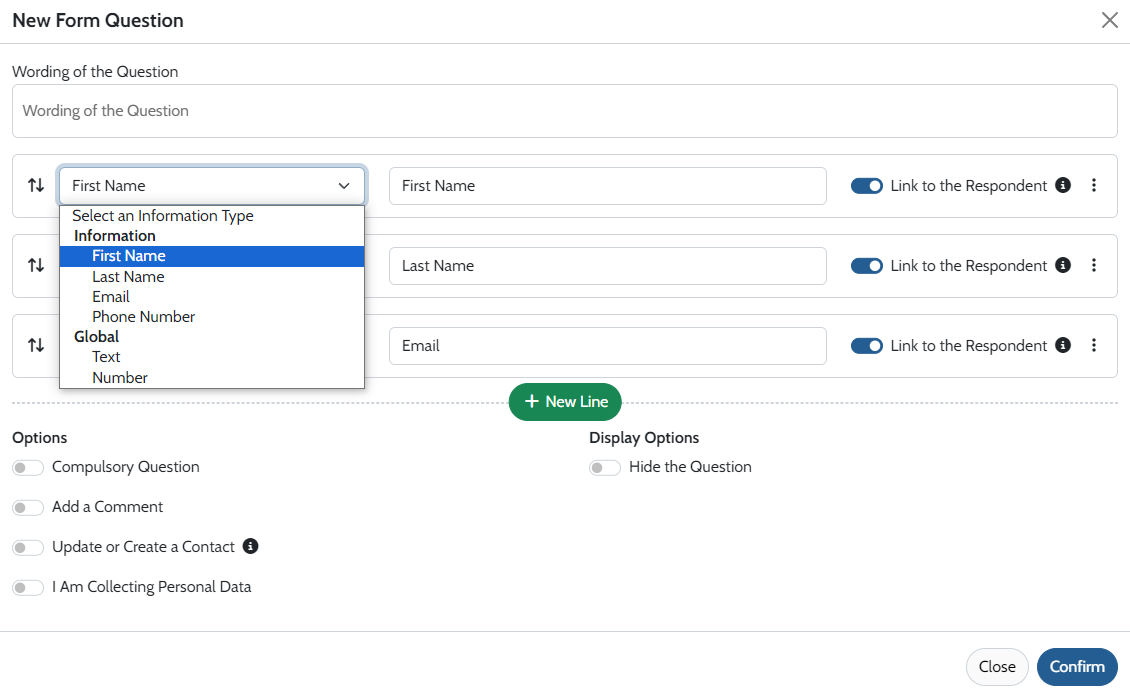
2. Write the title of this information (text that will appear just before the box to insert the answer).
For example: your naime, age, name of society,…

3. The option “Link to the Respondent” on the right of the line is automatically checked. If you want this information to identify your respondent in the results, we invite you to leave it activated. If you only want to collect data without identifying your respondents, uncheck the option.
Only the information concerning the first name, last name and email can be associated with your respondents.

4. Click on “New Line” to add a new one and collect a new information

Important :
If you collect personal information via the questionnaire, tick the “I am Collecting Personal Data” option.
This will allow you to fill in the form concerning the processing of the personnal data collected via the Eval&GO questionnaires. Those information will be available for your respondents once they will be aswering that question. In addition, you will be conform to GDPR.
You can modify this form at any moment by cliking on the “GDPR Form” tab from the “Edit” mode.
Step 3 : Set up quiz options on the closing page
1. Display the respondent’s score in points and in percent
On your “Closing Page”, add the “Respondent Score” element in the “Quiz Options”.

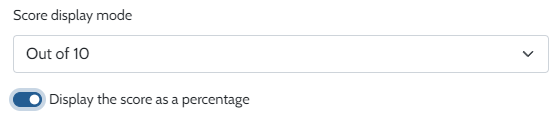
You can display your respondent’s score out of 10, 20 or the total points you set.
You can also display the score as a percentage.
This percentage is calculated based on the maximum score that can be obtained.
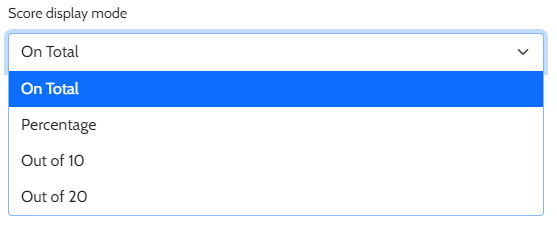
You can also display the score of your respondents in both points and percentage.
2. Adding a personalised message based on respondent score
You can configure personalized messages based on the score obtained by your respondent : a profile type, recommendations or simply “CONGRATULATIONS”.

> Click on the Personalized message option
> Write your message and validate
> Click on the arrows to the right of your message and condition its display
3. Display the correction of the questions
The Summary of answers/Corrections option displays the corrections (“correct answer” and “wrong answer” as well as any correction comments).

ADDING A TIMER
It is possible to set a time limit to answer to the quiz by adding a timer (PRO+ feature).
1. Click on the “Timer” tab

2. Set a timer for the entire questionnaire or for each page, individually.
The time must be indicated in seconds.
Your respondents will see the timer displayed on the top of the page.
At the end of the time limit, they will no longer be able to answer the questions on the current page (in the case of a page timer) or all the following questions (in the case of a global timer).
Note: you can also view the response time of each responsdent from the “Results” unit, “Results per Respondent” tab.