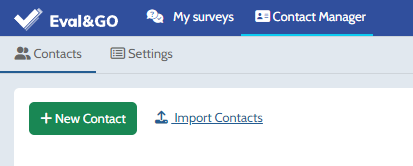
The “Contact Manager” tab allows you to create and import contacts or groups of contacts in your Eval&GO account. Then, you will save some time during your emailing campaign.
You have two possibilites to create contacts:
- 1st Method : By clicking on the green “New contact” button. That method allows you to create new contacts one by one.
- 2nd Method : By clicking on “Import Contacts”. That method allows you to import a list of contacts directly from a CSV file.
1st Method : Creating a new contact
- Click on « New contact »
- Fill in the email address of the contact
- You can also fill in their first and last name, and their phone number.
Note : the ID and password are not mandatory. You need to fill them in only if you activate the “Password access” and “Access the questionnaire through login” option (“Publish” unit of your questionnaire, “Options” tab).
- It is possible to add personalised fields (eg. client number, society’s name,…). Those fields need to be already created in the “Settings” tab.
If you want to add contacts to a prexisting group contact, tick the box corresponding to your group. If you don’t have any groups, you can create one thanks to the “Add a group” button. Groups can also be created from the “Settings” tab. You can have more information about how to create a group here.
- Don’t forget to check the box “I hereby certify that the imported contacts are “Opt-In”” before validating.
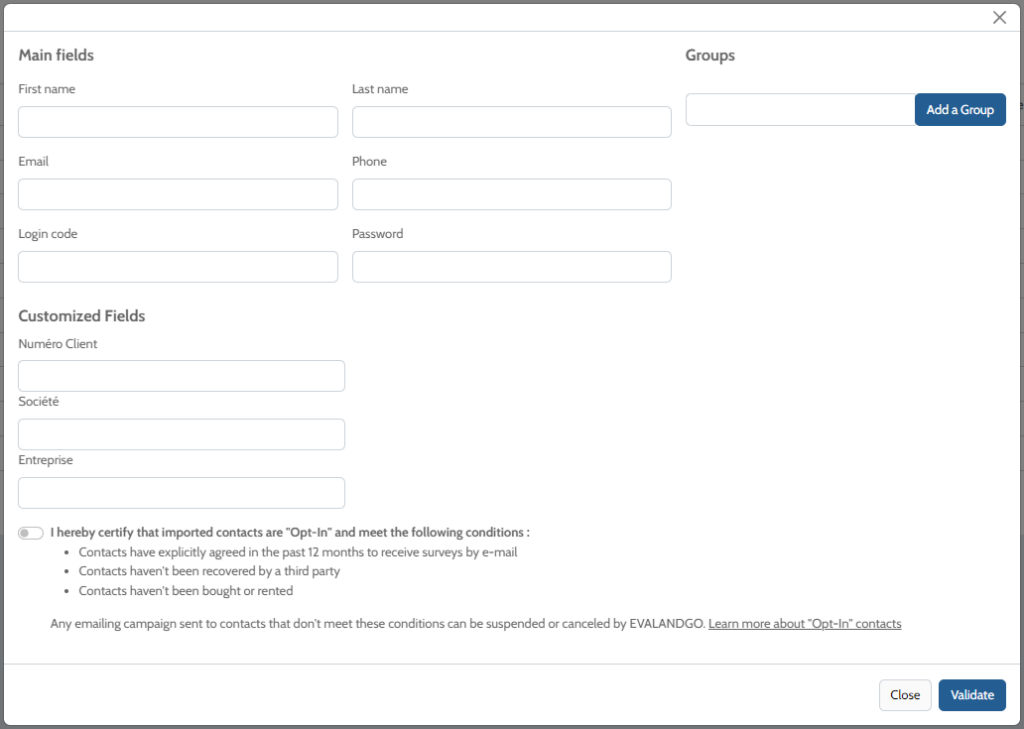
An “Opt-In” is a contact that meets the following conditions:
- They have explicitly agreed within the last 12 months to receive e-mail surveys
- Their address has not been collected from a third party
- Their address has not been purchased or rented
2nd Method : Importing a CSV contacts file
- Click on “Import Contacts” in the “Contact Manager” tab.
- Select your file. Specify whether your file is saved in “comma or semicolon separator” format.
- Indicate if your file contains a header line by checking the corresponding box.
- Remember to define the order in which items such as first name, last name, phone number etc. appear in your file. Drag and drop the fields you wish to import from the “available fields” list under the “E-mail” field. Your fields should appear in the same order as the columns in your CSV file. Important: the email address of your contacts must appear in the first column of your file.
If you have more information to import, such as the society or a client’s number, you must first create personalised fields in the “Settings” tab.
If you want to add contacts to a prexisting group contact, tick the box corresponding to your group. If you don’t have any groups, you can create one thanks to the “Add a group” button. Groups can also be created from the “Settings” tab. You can have more information about how to create a group here.
- Don’t forget to check the box “I hereby certify that the imported contacts are “Opt-In”” before validating.

NOTICE :
If you have trouble uploading your file, make sure your table is correct:
1. Your file needs to be saved as a CSV format (comma or semicolon separator), and not as an Excel format (.xlsx).
2. The first column of your file must contains the email addresses of your contacts.
3. If your file has a header line (column headings), make sure to tick “My file has a header” before the uploading of the file.
4. There should be no empty “email address” cells.
5. There can only be one email address per cell.
6. No special characters are allowed in the table cells.
7. No spaces in the “email” cells are allowed (either before or after the address).
8. No line breaks are allowed within the table cells.
9. Your email addresses must be in the correct format (idmail@onemail.com).
Tip: if you encounter any problem during the loading, open your CSv file in a text editor such as Notepad++ to look for any spaces or similar errors.